
Sitemaps are the most important part to boost your app's SEO. Here, I'll try to explain the easiest way to implement a dynamic sitemap in your Laravel app.
We will use an amazing and very easy package called Laravelium/Sitemap .
First thing we'll do is we need to install this package using composer :
composer require laravelium/sitemap
Now , let's publish this package's configuration files:
php artisan vendor:publish --provider="Laravelium\Sitemap\SitemapServiceProvider"
This command will publish the following files that you can edit as you wish
[/config/sitemap.php]
[/resources/views/vendor/sitemap]
[/public/vendor/sitemap]
Let's make the controller
php artisan make:controller SitemapController
Now suppose that we want to publish all our Blog model content in a sitemap. Let's put the following code inside our newly created SitemapController
use App\Blog;
use Illuminate\Http\Request;
use Illuminate\Support\Facades\App;

class SitemapController extends Controller
{
    public function sitemap () {

        // create new sitemap object
        $sitemap_contents = App::make("sitemap");
        // set cache
        $sitemap_contents->setCache('laravel.sitemap_contents', 3600);
        // get all posts from db
        $blogs = Blog::where('published',1)->orderBy('created_at', 'desc')->get();
        // add every post to the sitemap
        foreach ($blogs as $blog)
        {
            $url = url('blog/'.$blog->id);
            $sitemap_contents->add($url, $blog->updated_at,'1.0','daily');
        }
        // show your sitemap (options: 'xml' (default), 'html', 'txt', 'ror-rss', 'ror-rdf')
        return $sitemap_contents->render('xml');
    }
}
This function will put all the published blogs in a sitemap. we here have cached this sitemap for 3600 seconds.
The properties for each link as we can see in the code:
- priority: 1.0
- upadte frequency: daily
you can disable the caching or you can change the properties as you wish.
Next step will be writing the route and see our sitemap. Go to routes/web.php and write the following line
// Sitemap
Route::get('sitemap', 'SitemapController@sitemap');
Now, let's see how our sitemap looks like:
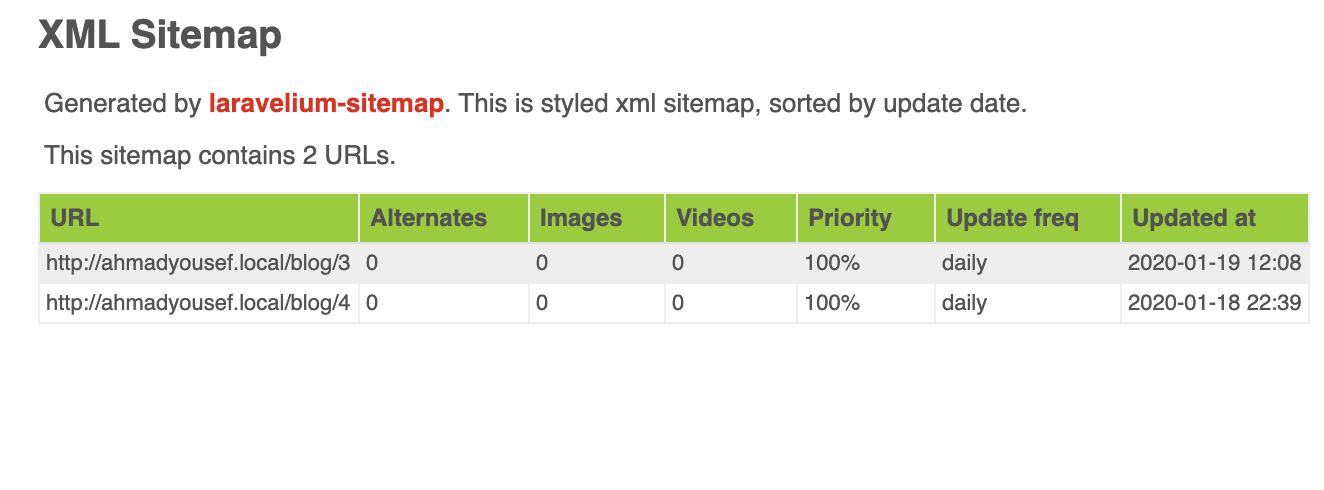
We can change this sitemap's look inside this file resources/views/vendor/sitemap .
To add an image (or a list of images) to this sitemap's content we can change the foreach function in the above code to be
// add this first
use URL;

// then this
foreach ($blogs as $blog)
        {
            $url = url('blog/'.$blog->id);
            $images = [['url' => URL::to('uploads/'.$blog->thumbnail), 'title' => $blog->title, 'caption' => str_limit($blog->body, $limit = 100, $end = '...')]];
            $sitemap_contents->add($url, $blog->updated_at,'1.0','daily',$images);
        }
this will add an array of images to each blog item in this sitemap, to add more images you can expand the array as you want.
and we're done. I hope this tutorial helped you 😅